Quick Start
Try the samples
To quickly get a taste of Cognibase, you can fork or download the samples from GitHub.
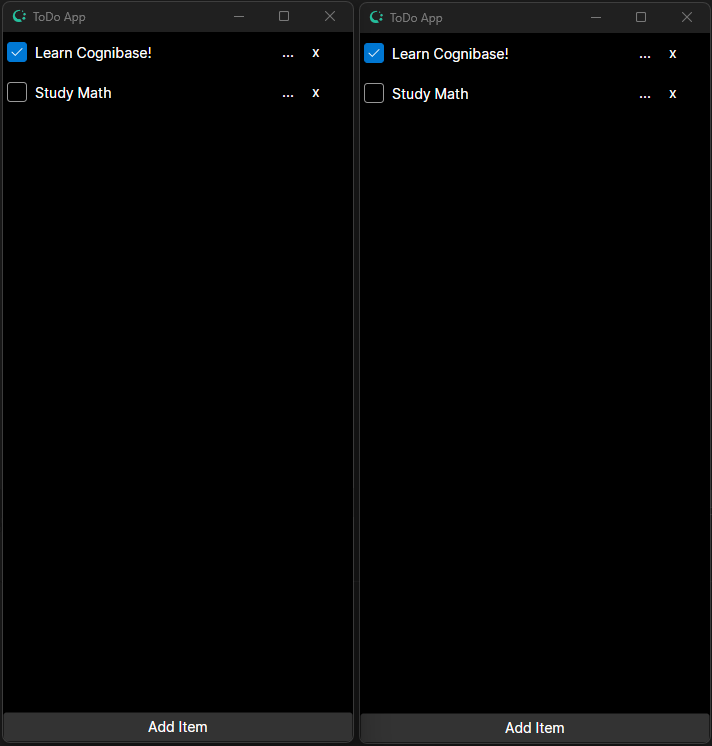
ToDo App
A simple ToDo application with a single Entity using Avalonia UI and ReactiveUI frameworks for the frontend. Read more...
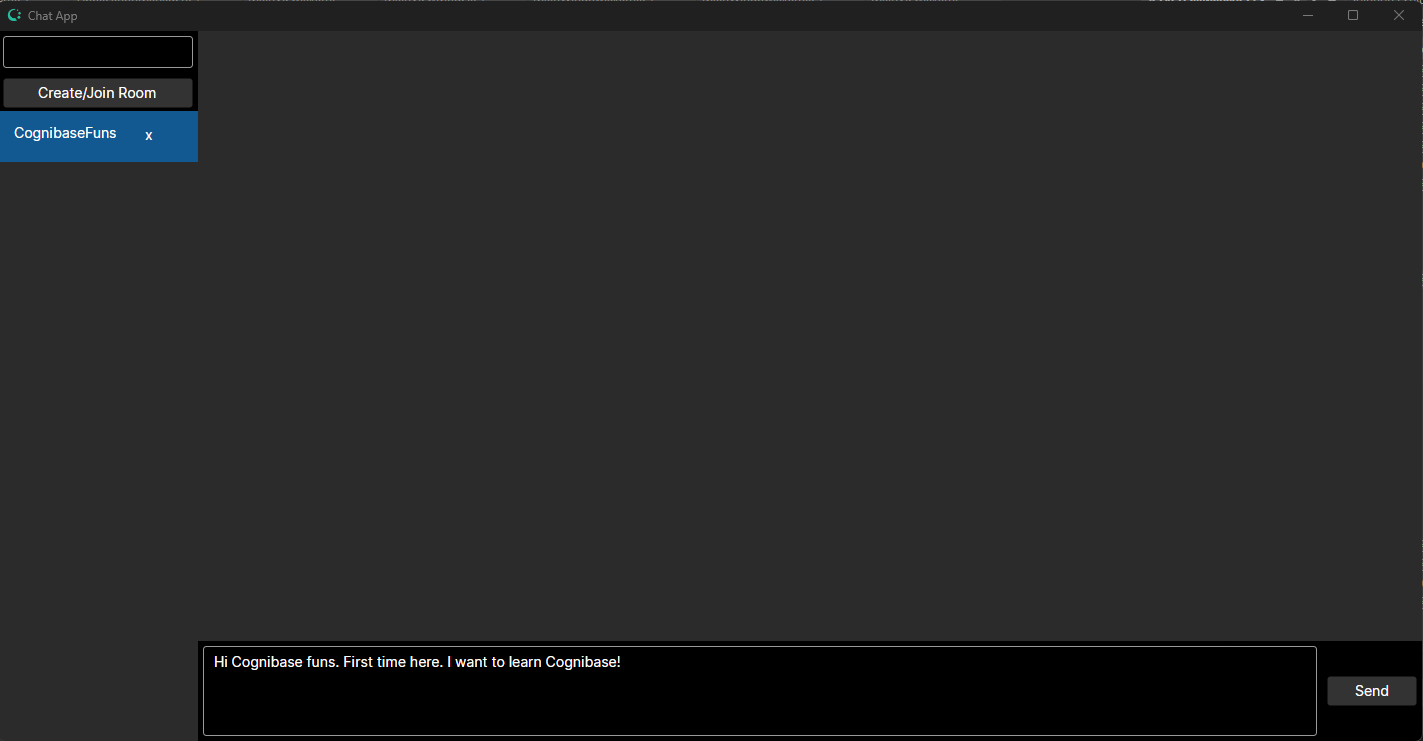
Chat App
A minimal messaging application that demonstrates the usage of relationshiphs between Entities and the building of both GUI and console apps. Read more...
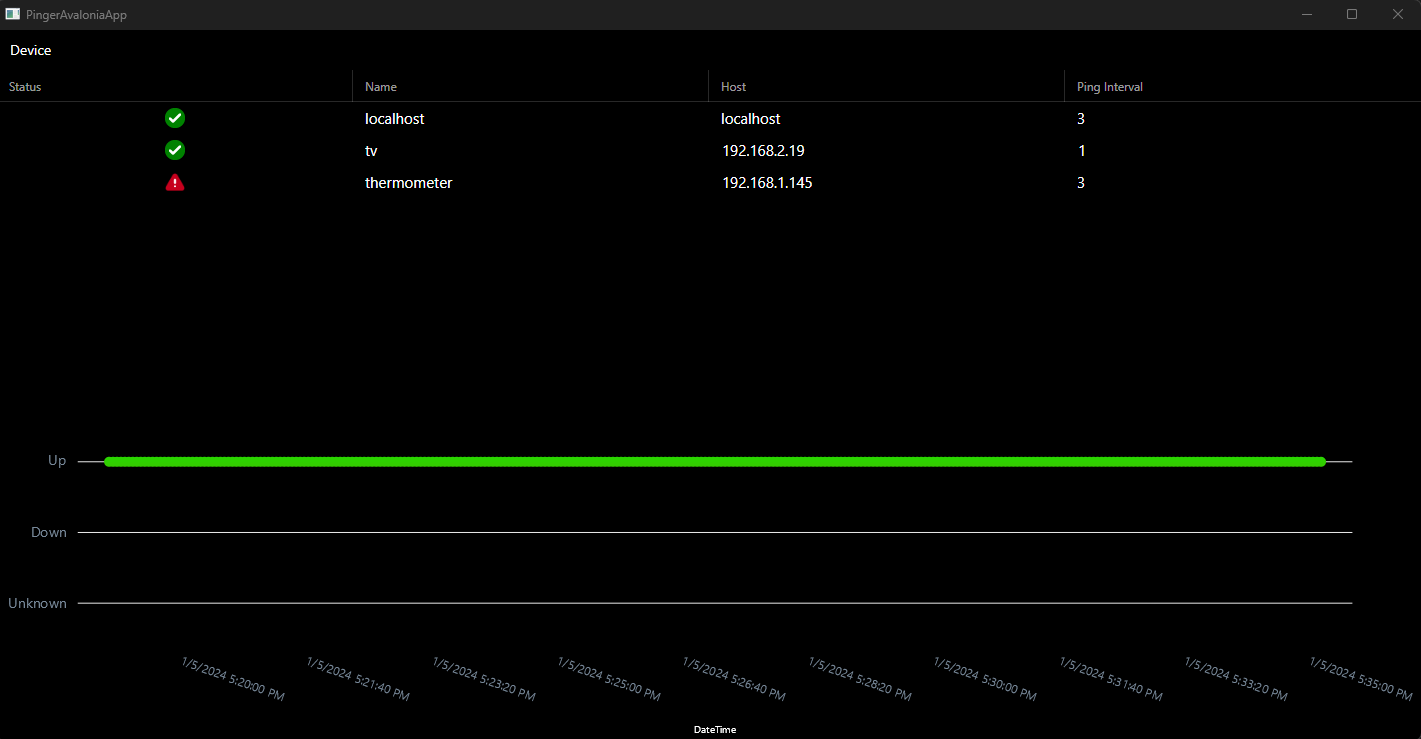
Pinger App
A minimal IoT / monitoring application that demonstrates the building of additional backend service for backend processing. Read more...
Use the Nuget Packages
You can directly use the nuget packages from nuget.org. You create the C# projects in Visual Studio and reference the required packages. However it is much easier if you use the Project templates as described below.
Use the Project Templates
To get started, you can use the Cognibase Project Templates, either by installing the Cognibase Visual Studio extension or by using the dotnet nuget cli to install the Cognibase Project Templates package that is published in nuget.org.
Visual Studio Extension
-
Head to the Visual Studio marketplace and install the Cognibase Visual Studio extension.
-
Then, open Visual Studio and create 3 projects
- A class library for the domain project and name it as you like, e.g. TodoDomain
- A console project for the server project and name it as you like, e.g. TodoServer
- A client project (e.g. Avalonia Desktop) and name it as you like, e.g. TodoApp

DotNet CLI
To download and install the plugins from nuget.org execute the below command:
dotnet new install Missionware.CognibaseTemplatesPackage
To create a project run the following (set the names as you like):
dotnet new cognibasedomain -o TodoDomain
dotnet new cognibaseserver -o TodoServer
dotnet new cognibaseavaloniadesktop -o TodoApp
Develop your solution
- Add Entities to the Domain project.
For example add a new Class named
TodoItemwith three propertiesId,DescriptionandIsCheckedlike below. TheIdis a long auto-increment (Identity column) number, theDescriptionis a string property and theIsCheckedis a boolean property.
    [PersistedClass]
    public class ToDoItem : DataItem
    {
        [PersistedProperty(IdOrder = 1, AutoValue = AutoValue.Identity)]
        public long Id { get => getter<long>(); set => setter(value); }

        [PersistedProperty]
        public string Description { get => getter<string>(); set => setter(value); }

        [PersistedProperty]
        public bool IsChecked { get => getter<bool>(); set => setter(value); }
    }
- Reference the domain project from the server project and add the domain definition in the app.config appropriately
<?xml version="1.0" encoding="utf-8"?>
<configuration>
	<!-- ... Other serttings are omitted for simplicity ... -->
	<ServerSetup>
	<!-- ... Other serttings are omitted for simplicity ... -->
        <DataStoresSetup>
            <DataStore PersistenceMgrType="OODB"
                        SqlEngineType="SQLITE"
                        ConnectionStr="database">

                <!-- This is the user-created Domain -->
                <TodoDomain Mandatory="True" />

                <Missionware.Cognibase.AppManagement.Domain />
                <Missionware.Cognibase.Security.Identity.Domain />
            </DataStore>
        </DataStoresSetup>
	<!-- ... Other serttings are omitted for simplicity ... -->
	</ServerSetup>
</configuration>
- Reference the domain project from the app client project and register the Domain in the bootstrap code or wherever you initialize the Client Object Manager, like below
// read the config file
var settings = ConfigBuilder.Create().FromAppConfigFile();

// read the client settings
var clientSettings = settings.GetSection<ClientSetupSettings>();

// initilize application master object
var cApp = ApplicationManager.InitializeAsMainApplication(new ClientApplication());

// creat the Client Object Manager
var client = ClientObjMgr.Initialize(cApp, ref clientSettings);

// Registers your domain using the Domain Factory
client.RegisterDomainFactory<TodoDomainFactory>();

// also register the standard Idenity Domain using its Factory
client.RegisterDomainFactory<IdentityFactory>();

// ....

// start the application
cApp.StartUpClient(StartupConnectionMode.ConnectAndStart);
Note that there are some differences in the initialization code between Console, Avalonia (async) and Windows Desktop (WinForms, WPF) clients.
- Add whatever business logic to the client project, e.g. create new messages items and save them.
private async Task CreatToDoItem()
{
    // create a message and save it
    var newTodoItem = _client.CreateDataItem<ToDoItem>();
    newTodoItem.Description = "I have to try Cognibase at last!";
    newTodoItem.IsChecked = false;

    // save
    var SaveResult = await _client.SaveAsync(false, TxnAutoInclusion.References, newTodoItem);

    // if success close form
    if (!SaveResult.WasSuccessfull)
    {
        _client.ResetAllMonitoredItems();
        await _dialogService.ShowError("Error", "Could not save data. Try again or cancel edit.");
    }
}
Ready to Go
-
Run/Debug the Server.
-
Run/Debug the Client. Connect using the user credentials you have configured.